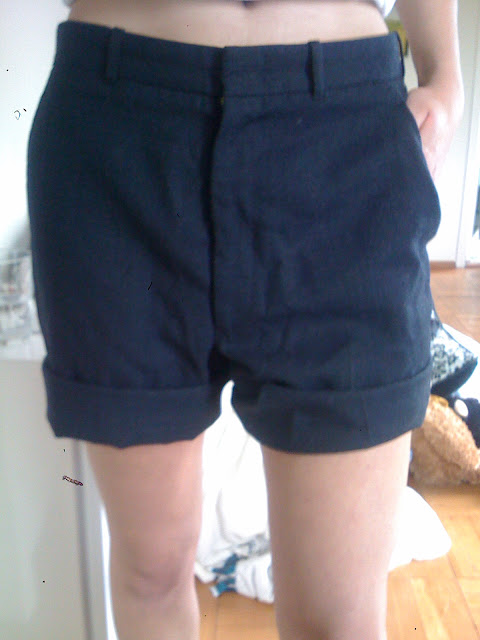
I love these trousers. I thrifted them about two years ago and while I didn't wear them a whole lot, I felt like Katharine Hepburn every time I did. Unforunately, they are just barely long enough. In bare feet, they're perfect. And while I would prefer bare feet to shoes any given day of the week, that's simply not an option and shoes raise the hem juuuust too high for my tastes. Ever since I was 7 and first made aware of "high water" pants and how embarrassing they looked, I've been ever so careful about the length of my pantaloons. Anyway, all of that to say, here's what they looked like before! While you have them on, mark out somehow how long you would like your shorts to be. Add on to that amount for hem allowance. I know the standard allowance is 5/8 of an inch, but I'd rather be safe than sorry so my hem allowance is usually closer to 2 inches. Are you cuffing these beauties? If so, add another few inches. I ended up cutting mine right at the knee.
After you've cut off the legs, put the shorts on and start to play with the length. Originally I was going to cuff mine, but given the bagginess of the trouser, the effect was that of a bloomer, and while I suspect I could potentially pull a bloomer off, that's not the look I'm goin for here. However, if you do want to create a seamless cuff, here's how: fold all the excess underneath until you've reached your desired length:
Then fold it back outward, creating a cuff, until you've reached desired cuff width:
Case in point. Bloomer. And clearly this is a sloppy cuff. I wouldn't leave it like this.
This is necessary when you're working with fabrics that have differing textures on the inside and outside, or if the pants you're using are lined. After you have your cuff the way you like it, throw some stitches in to keep it in place. Depending on the fabric, some ironing may be necessary to keep things crisp and to give it a finished look.
If you're not trying to create a cuff, then stop after step one! Once you've gotten your desired length, stitch the segment that's folded inside to the inner seam to hold it in place. Iron your hem, and voila! Shorts!
Worn with Steve Madden clogs for extra bossiness.
Alright now I'm off to do some homework for a class that I will be attending this evening. But first, here's a short list of topics to come:
- Coco Before Chanel
- Alexa Meade
- "How I'd Wear It"
- Matt Bomer
- Michael Kors (this one's a rant)


No comments:
Post a Comment